I have a confession: I collect minerals, crystals, rocks, and fossils in my spare time from doll-making.
Read MoreElixia is a Crystal Goddess
in Video

Video
I have a confession: I collect minerals, crystals, rocks, and fossils in my spare time from doll-making.
Read MoreA client wanted some custom chandelier earrings for their Enchanted Doll, so I created these 4 designs for them with tiny gemstone
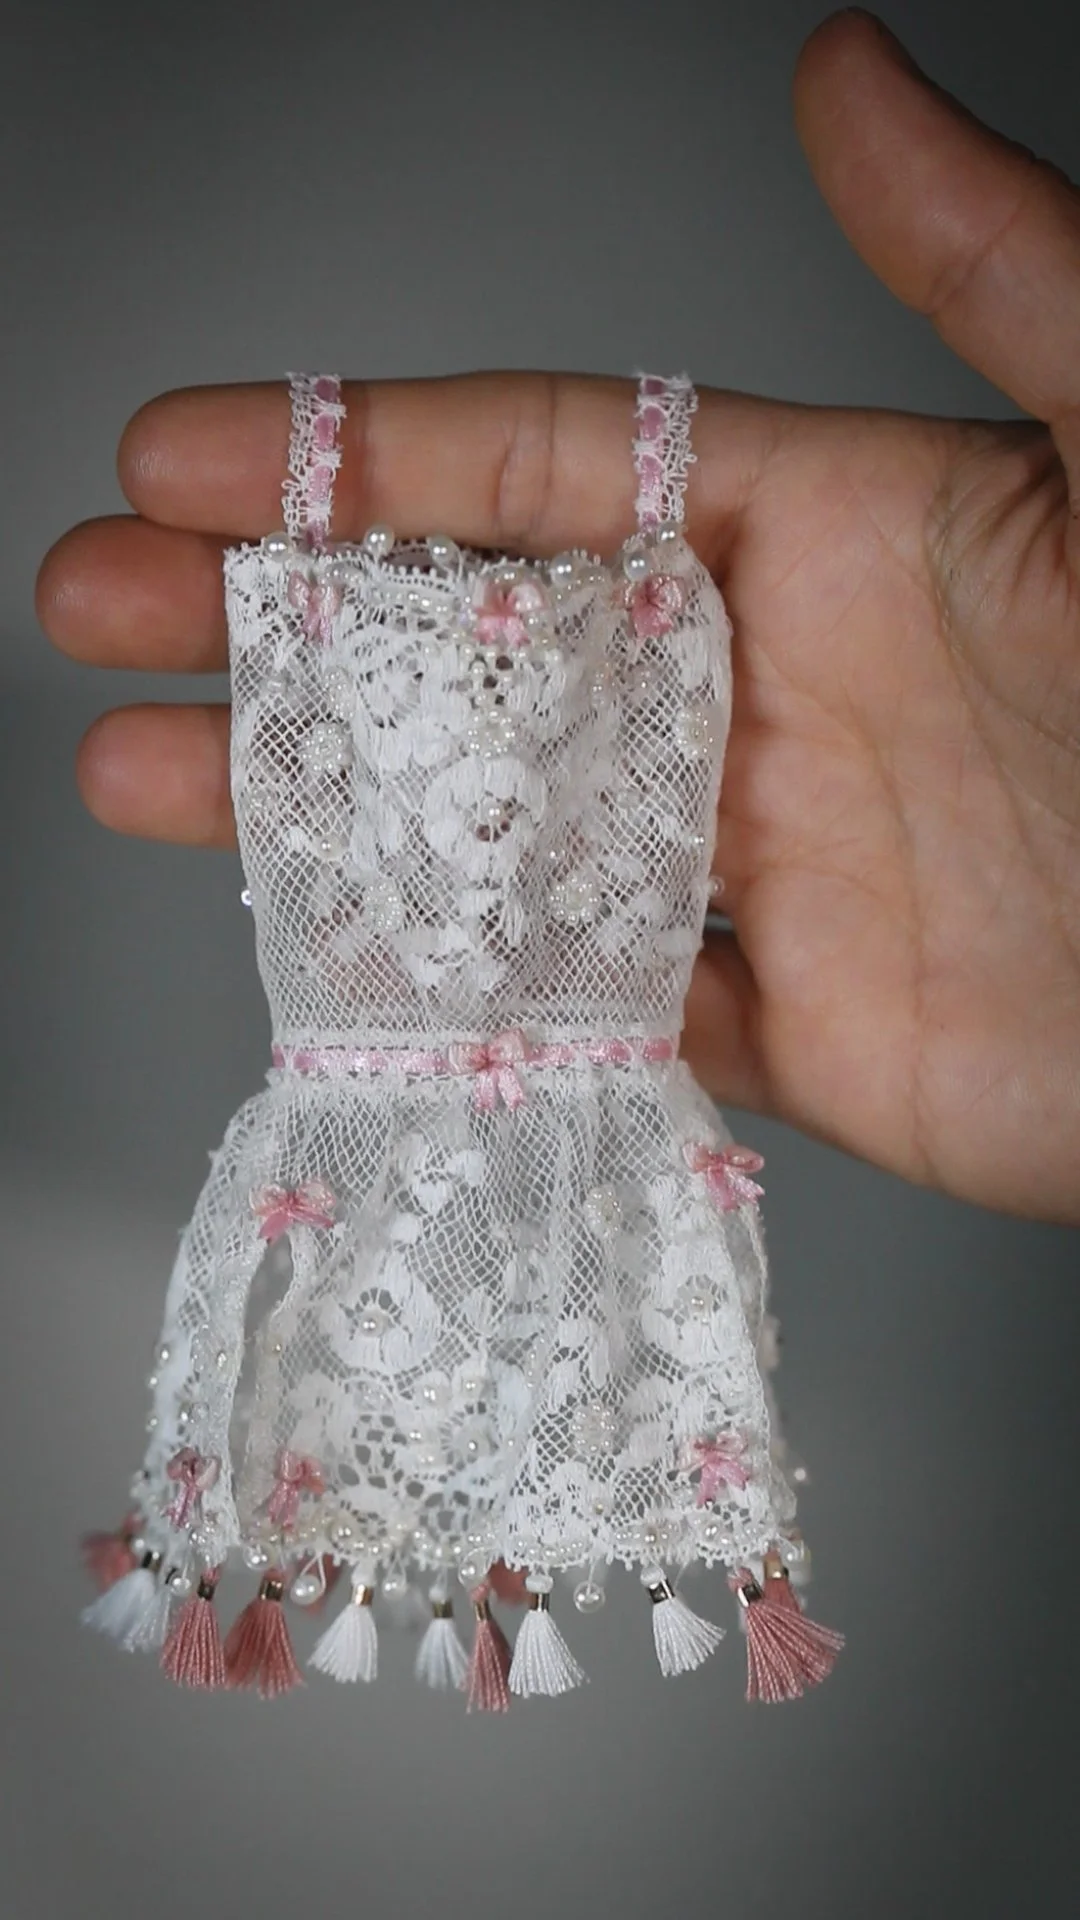
Read MoreI wanted this look for a photoshoot, so I spent a week constructing a dress from some vintage French lace and pearls…
Read MoreTo make my doll’s skin feel smooth like silk, I must sand it once again after the vitrification firing.
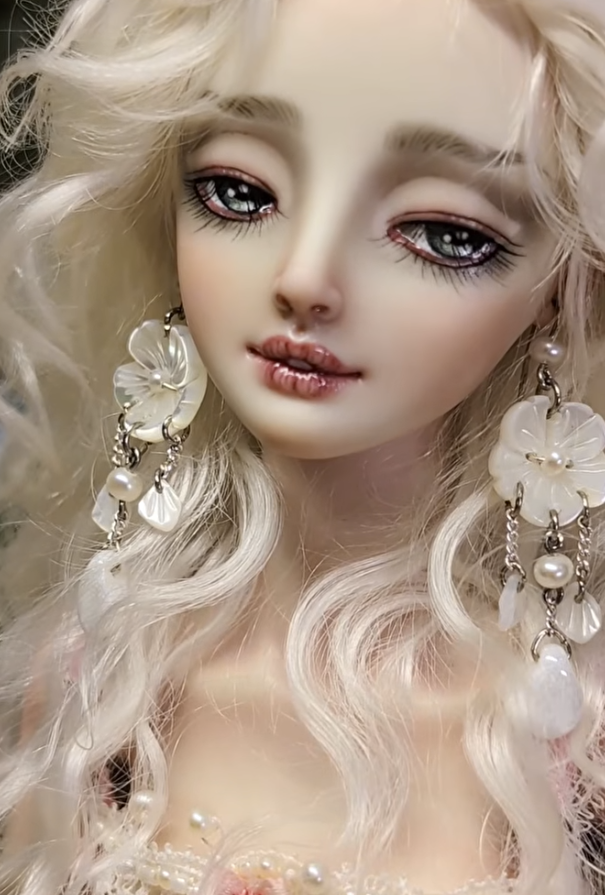
Read MoreA closeup spin to show off this porcelain doll’s exquisite eyelashes, soft brows and shimmering eyeshadow. I’m very proud of the fine china-paint line work I’d done on her lashes. Because china-paint never dries on its own without being kiln-fired, the painting is always done wet-on-wet, which means creating fine, crisp lines is always a challenge. This also means there is very little margin for error, as even the tiniest mistake can ruin all the wet layers. But the challenge is worth the effort, because once fired, china-paint becomes eternal. 🤩
Disassembling a porcelain doll to add more china-paint layers to the face requires that I remove all glue traces from the neck joint and the wig magnet. Each China-paint layer needs to be fired in a ceramic kiln, and I don’t want the glue to burn. In theory, it should just burn off, but it could also possibly deposit a coating on the heating elements and ruin them. Why risk expensive hardware? 🤷♀️ Better be diligent, than sorry.
Anybody had any unfortunate kiln mishaps like that?
One of my absolute favourite custom orders from last year
Read MoreIt’s time to open my molds, and see how the parts turned out.
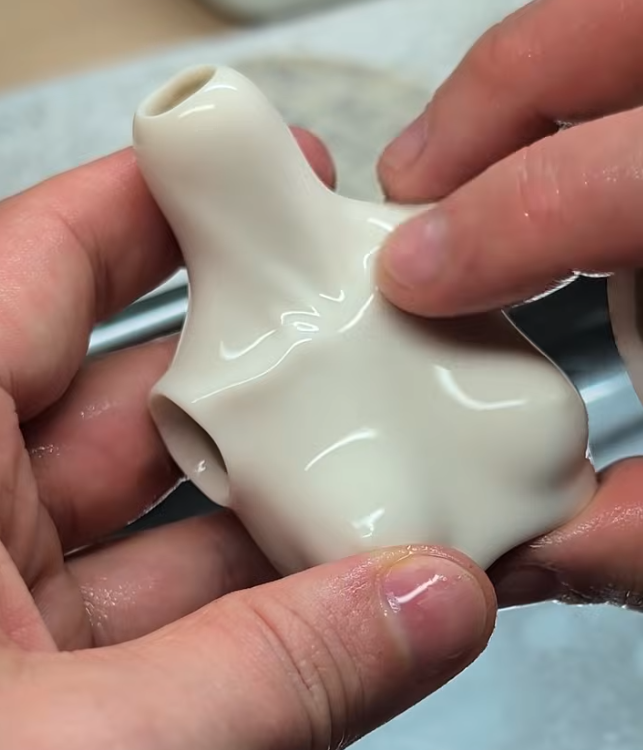
This process, takes place about 2 hours after casting. Plaster molds absorb the water from the slip, and the doll parts harden, shrink, and detach themselves from the molds.
In this stage, the parts are fragile like eggshells, so I have to hold them with a feather touch, or they will get crushed.
I open the molds one at a time, and work quickly to cut away the sprues, open up sealed cavities with a scalpel, and pierce holes for the pins with drill bits.
Once exposed to the air, the parts start drying quickly, so time is of the essence here.
But despite the need for speed, I find this to be the most relaxing and enjoyable part of the whole process, because at this point, I don’t need to worry flawless execution. That will come later, but for now, without the pressure of perfection, or the need for extreme concentration, I can just enjoy the flow of my work and get lost in the process.
This is porcelain slip, and that is how I slip-cast ball-jointed, porcelain dolls. Next video will be me opening these molds and taking out the doll parts. Any questions?
Dressing Cinderella for her photoshoot in her gold-plated metal costume.
Read MoreThe work on the one of a kind auction doll Serenity continues!
Read MoreNot each firing is successful, and not all hard work gets a rightly earned reward.
Read MoreJust like a human shoulder, if a doll shoulder is over-rotated inside its socket, it can sometimes dislocate.
Read MoreI updated the traditional lace-up method, with a simpler and more elegant solution - snaps! It now takes a fraction of the time and only a few simple hand motions to corset and un-corset a doll!
Read MoreCinderella in gold 2024 was a special commission for a collector who loved the original 2009 closed limited edition. Her costuming is one of a kind, to differentiate her from the earlier edition doll.
Read MoreHow the lace lingerie engraving started, from sketching pencil lines on the doll's torso to starting the engraving. No turning back once the needle carves the porcelain, much like an ink tattoo on skin. I have put many many more hours into this project since this video, and i can't wait to show the rest of the design. Stay tuned for more clips of the process!
This is a wax sculpture of a new Doll shadow box I’m currently making. It’s based on a well-known fairy tale character. Can you guess which one based on the ornamentation? Here’s a hint - she is a villain.
Read MoreA short video of me signing and stamping the Enchanted Doll Publisher Edition book
Read MoreAt this stage of the process the porcelain is in a very fragile and soft state called Bisque
Read MoreI love working on the little details of things. There is a danger in it though, if you spend too much time on the details you could get lost in them and the only way out is by making even smaller details.
Read More